Wednesday, April 30, 2008

A day of Sadness..


Well some not so good news today..
My Uncle Jimmy passed away last night after a short but painful fight against cancer. He was only 42 and the middle brother of 5 boys. My Grandma had the 5 boys in only 6 years so they are all very close in age and are all larikins with a huge sense of humor.

My father is a year older than him and they were very close. My father has also had his fair share of heath scares. My dad battled cancer when he was only 36, and it was a close call but he pulled through. Just recently he has also undergone open heart surgery and again has pulled through but only just. He is taking the death of his younger brother very hard.

I was born when my father was only 18 so as I was growing up so were my Uncles. Teenage boys reeking havoc on an innocent little girl :). I have very fond memories of spending time with all of them.

Jimmy- your kind soul and gentle nature will be missing in our lives. Our family get togethers will never be the same. Rest with Grandpa and watch over our family. We..I love you.

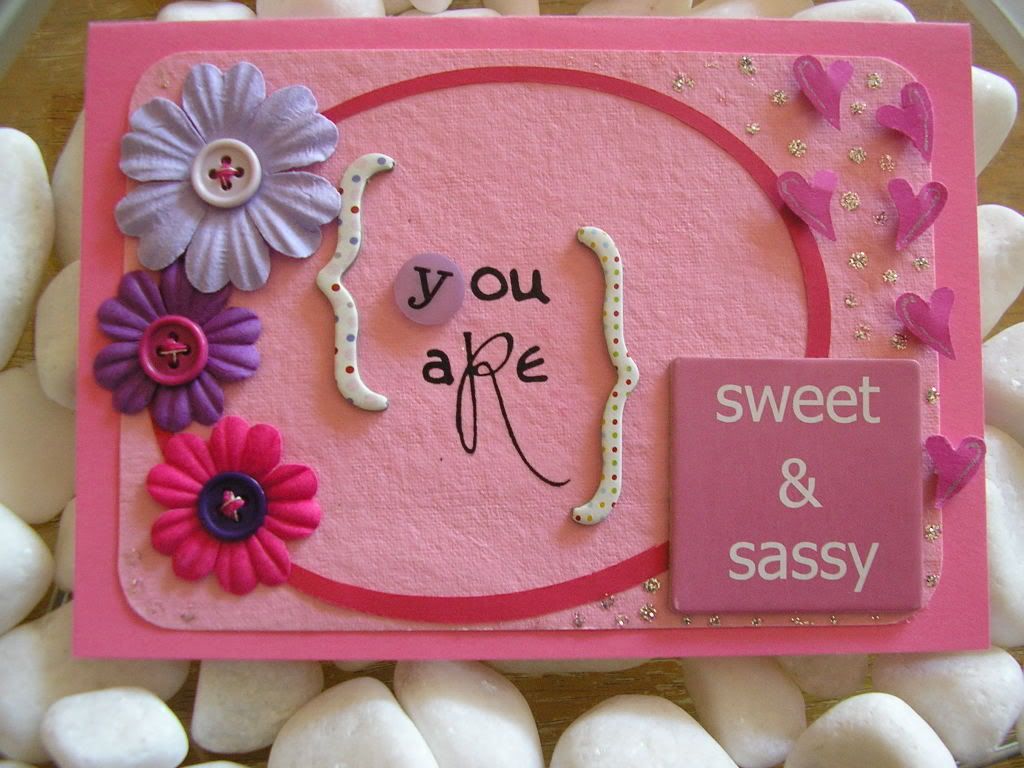
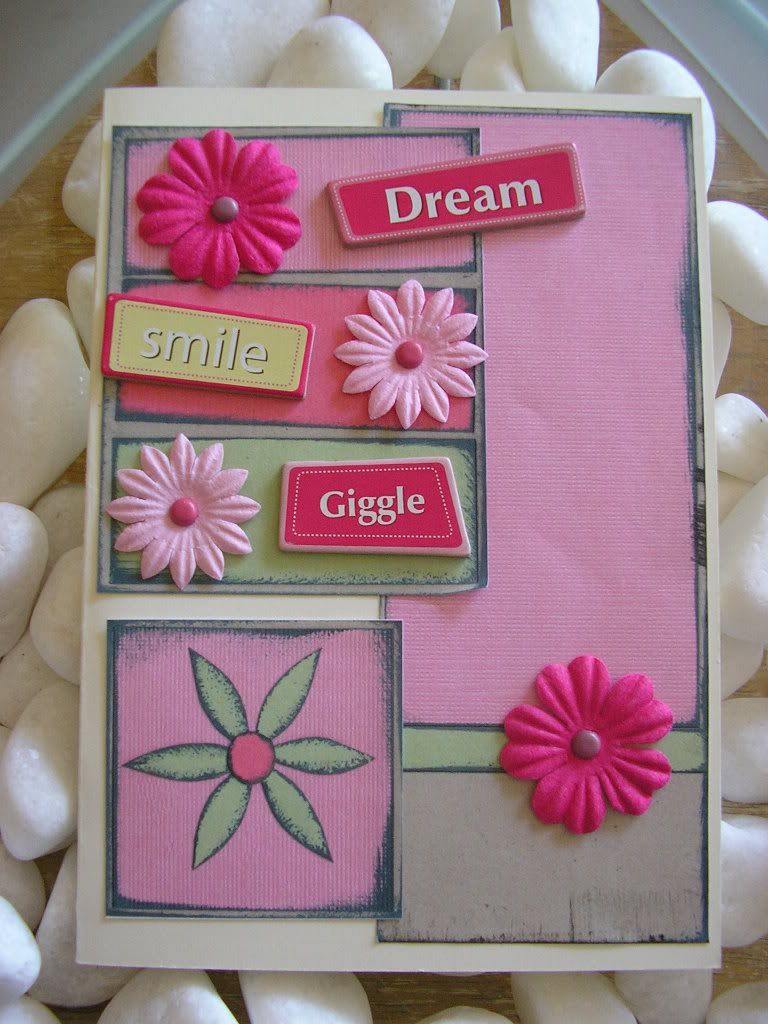
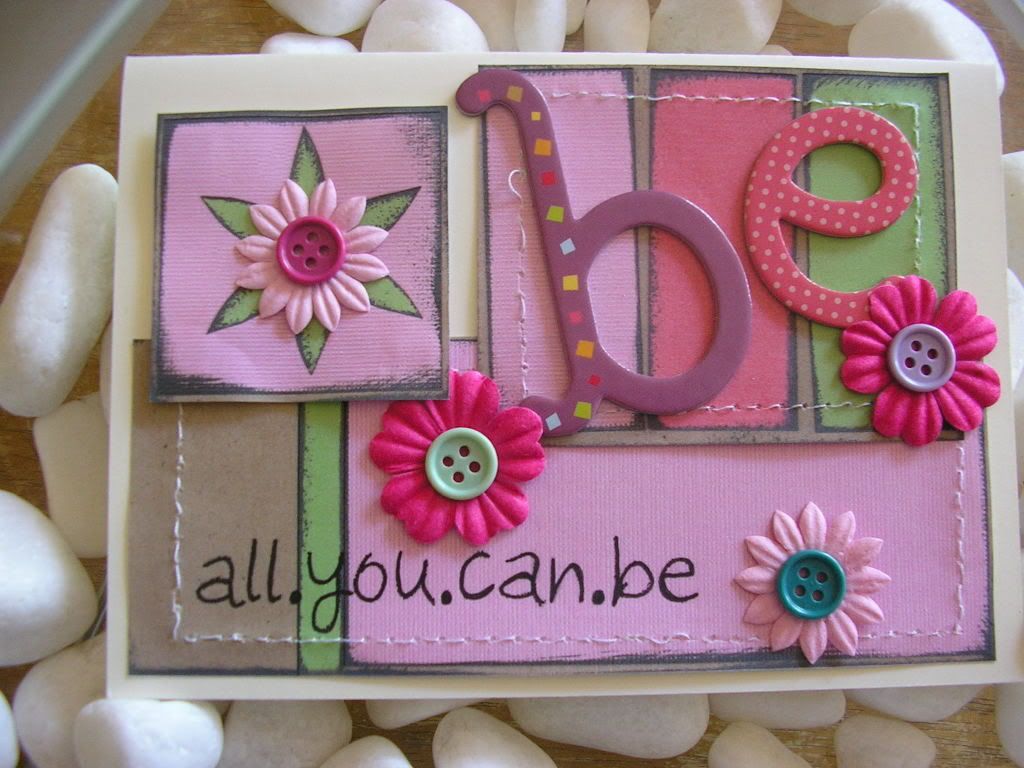
..A card I made for my Grandma..

Jenn x

Tuesday, April 29, 2008

Is hubby having an affair?


OMG!

Look what Hubby brought for me!!

hehehe...I said that he must be having an affair because this is certainly no bunch of flowers! :):)

Arent I just the luckiest! He said that he peaked over my shoulder the other night while I was looking at a studio online and there was an storage unit like this one with baskets in each compartment. He said that he thought it looked great and that I should have one to make my space more professional! What a darling :)

So after we "discussed" the budget and where the money came from to afford such an item ;)
We spent all night putting it together (150 screws! what!!!) but it came out wonderful :)

I LOVE IT ~ I LOVE IT ~ I LOVE IT~ I LOVE IT


...Now Im looking forward to buying some baskets and lovely jars for my embelishments!

Never enough for a cardmaker :)


Jenn x

Best Friends..


Hello all,
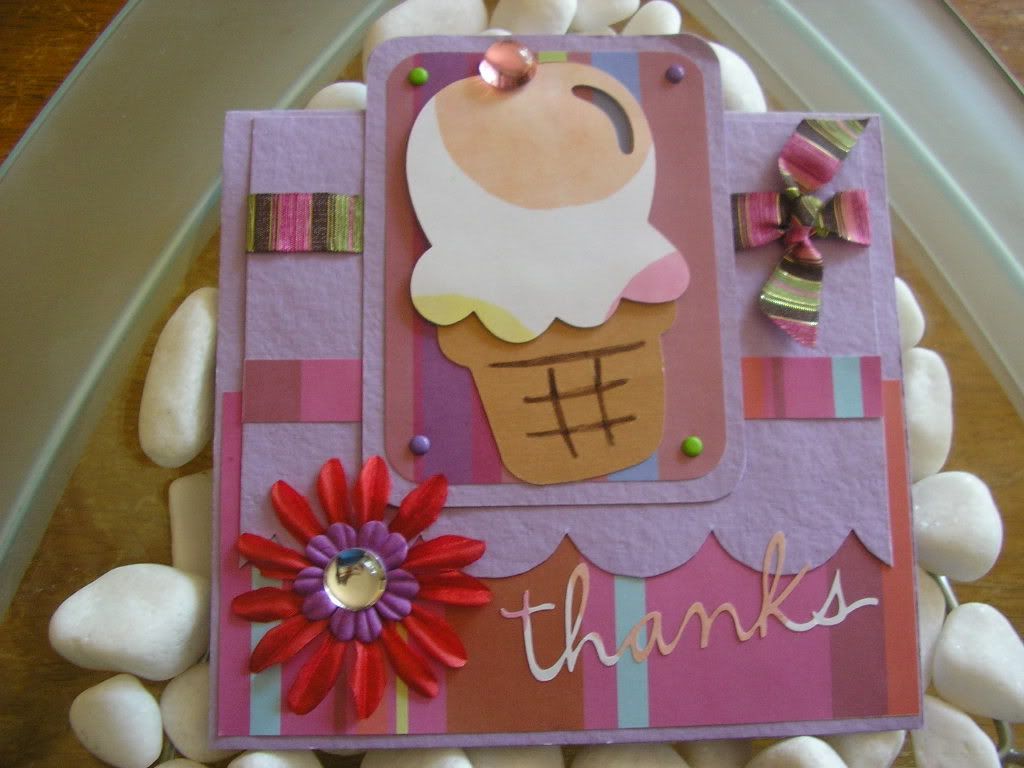
I made a card last night.
I wanted it to be quick and funky. It didnt quite turn out exactly how I planned...i had an "issue" with the cuttlebug. I made this card a bit wider than usual and ran into trouble with the cuttlebug! (Note to self- Measure Jenn. Measure! hehe)
okay..so hope you like :)

Jenn x
Sunday, April 27, 2008

Puller Cards!


Hello Hello,
A couple of ladies over on the circut message board were asking me about instructions on my puller cards.
So I have added a tutorial! I dont have a video camera or webcam, they are all still shots so bare with me! (some of them might be blurry! hehe)
ANY questions OR if my ramblings dont make sense leave me a comment and I will gladly get back to you.

I have posted a couple of the cards I have made for inspriation and I would love to see any creations made so post a photo in the comments sections!
Good luck to all in making your cards...and reading my instructions! hehe

Jenn x
Puller Card Tutorial- Part One


1/Fold a piece of A5 card in half and measure up a piece of paper to fit over the front of your card. (For this tutorial I have used spare paper i hardly use -ORANGE! yuck! hehe) You can leave any size border around the edge to show the card underneath, just remember that the end of window does sit quite close to the edge of your paper so you be careful it doesnt rip!

2/ Now to cut your window! This is actually really simple so I'll try and make the instructions as simple as possible too :)
  • Measure in from the right hand edge of your paper 1&1/2 inches, and also 1&1/2 inches from the bottom of the paper. This will be the bottom right hand corner of your "window"
  • From this point measure 4 inches along to the left (this is the length of your "window") and draw a line
  • From the end of this line, measure up 3/4 inches and make a mark. Now join the mark with the line you have just drawn. You should have something that looks like a odd shaped "L"
  • From the other end of your 4 inch line repeat step C. You will now have a squarish "U" shape.
  • Join the two smaller edges with another 4 inch line across the top. You should now have your rectangle shape marked out!
Now using a ruler and a craft knift carefully cut around the edges of your rectangle- This will leave you, your "window". (In the photo I have placed the orange paper on the white card so the window is easy to see. Dont stick the paper to the card yet!)
3/ Now to cut your "backer" piece. Simply cut a rectangle piece measuring approx 6 inches long by 1&1/2 inches wide. This paper will be a different colour to your main piece of paper, but remember it will be the same paper as that used for the tag, so that they blend. On the back of your paper place you "backer" piece over the window, but do not stick it down. Turn your paper over and you will see the "backer" piece through the window, at this point make sure that it fits. (sorry this photo is a little blurry)

...See Tutorial Part Two..


Puller Card Tutorial- Part Two


1/ Time to cut your tag! My tag usually measures 1&1/4 inches wide and 6 inches in length. (because you cut the end to shape the tag, you could add some more length to it depending on how long you want the part you pull, to be). Taper the end of your tag by cutting a corner off each side. Remember the paper you use for the tag will also be the same as the "backer" piece so that they blend.

2/ Cut your slit for the tag to slide through. (in the photo i have the backer piece behind the paper but its easier just to put it aside for the moment) To cut the slit measure approx 3/4inch from the middle of the end your "window"and make a small mark. I then line up the middle of the end of my tag to the mark and draw along the edge of the tag, going slightly past the end on either side, to get the length of the slit. Usually the length of the slit is around 1&1/2 inches.
This part is a little trial and error because if the slit is to wide then the tag sags and wont sit straight, if its too small then it wont slide in or out easily. Just test it and ammend the measurements to suit your tag :)

3/ The third photo is to show the slit/opening for the tag to go through.

4/ Slide your tag through! I run it in and out a couple of times to make sure it slides smoothly and doesnt catch. If it does catch you made need to widen the slit you've cut. If it sags, you may have cut the slit too wide (no need to start all over again- just cut a new tag to fit the opening!)
...see tutorial part three...

Puller Card Tutorial- Part Three


1/ Once the tag is in, turn your card over and place your "backer" piece over the opening you've cut in the paper.

2/ Stick the "backer" piece onto the paper. I normally use a tape runner to stick on my cards however for this I only use double sided tape. I use this because you need to make sure there is no "sticky" on the underside of the backer piece which may catch the tag when its pulling in or out.

3/ Turn your paper back over and test your tag to make sure it pulls in and out smoothly. You can see here the effect of having the tag the same colour as the "backer" piece.

4/ Stick you paper piece onto your pre folded card (the photos a little wonky sorry!)

..see final part of tutorial..

Puller Card Tutorial- final


1/ Now to add your "stopper" (an embelishment of some sort) to the very end of your pull out tag. Remember it needs to be big enough to stop the tag from sliding all the way in or out. Ive used a simple flower for this tutorial.

2/ You will need to "test" your tag to see if it slides easily back and forth. I find the more intricut my stopper the less easily the tag puller. Simple is better. (You could add ribbon or another embellishment on the end of the tag for something to grab onto depending on the type of card)

3/Add the first part of your saying.
4/ Pull your tag out and add the second part of your saying.

YOU'RE DONE!
Any embelishments or other additions you are adding to your paper/card, make sure its done before you affix it all together, its much easier!

Thanks for hanging in there with me! Post in the comments section me your creations I would love to see them! :)
Jenn x
Friday, April 25, 2008

Imma enterin!


Hiya all,

This is the card Im entering over at CCT http://cutecardthursday.blogspot.com/
The theme this week is "Girls just wanna have fun" I made this card for my little (half) sister's 3rd brithday!
Come and check it out- there is some amazing inspiration! and so absolutely FAB goodies as well.

Here's my entry- wish me luck!

Jenn

Love and Laugh because Life Happens


Another from my craft weekend.

I love how this one turned out! Its not my usual style to do so much doodling or freehand but i really cut loose with this and i think its turned out okay.
I used a scalloped ruler and punched the holes and handcut the pink scallops for the backround. Added the "life happens" paper and cut a heart from my crciut. Added the foam letters and the "&" sticker. I had a giant black brad i wanted to use so i used it as the middle of the flower. And i finished the outside with a flourish rub on.

I love this one!!
What do you think?

Jenn

Have a Great Day!


Okay- another card I made on my fancy craft weekend.
This one i used the cricut doodlecharm cartridge and cut a 'sun' shape. Added some hand doodling around the edges, tied some ribbon and stuck some buttons. Punched some flowers and doodled on and around them and then added rub ons for the wording.
It was actually really easy and I LOVE the way it turned out!

Jenn

Finally My Cards!


Okay- so I know I have been promising to post the photos of the cards I made on my 'hubby and bubby free craft weekend"..so here they are..


First up we have the HI card..I wanted to go simple and brown, i found a couple of ribbons and taped them done across the card, added some chipboard letters and doodles, a couple of rubons and vwahlah!


what do you think?


Jenn

Thursday, April 24, 2008

Cardvarks Challenge..


This is the entry for the "Black&White+One" challenge on the cardvarks blog (http://caardvarks.blogspot.com/) Hop over and check it out there are some amazing cards!
So much inspriation!!

Wish me luck!

Jenn

Tuesday, April 22, 2008

Ooooh! Presents!


Hello hello,

Dan and Hannah came home today, I was soo excited to see my hubby and bubby :) All mothers would appreciate this- there are times when you wish for the pre-children silence but as so as it is silent something is missing. Thats how I've felt this weekend, Ive enjoyed my time alone but I have been lonely! So they are back- Hannah looks like she has grown a 5 cm and has about 20 new words (all in 3 days!) I've missed her sooo much I cant put it into words. And my Dear Dan, always looking out for my addiction to card making..hehehe...Look what he bought me! TWO PAPER RACKS!! I have (until now) kept my paper just in a pile on a shelf, the edges were starting to curl and ruin. But now I have these beautiful rack to put my paper in! THANK YOU HONEY!!
...still waiting to take pics of the cards I made over the weekend, spent all my time tonight putting the paper in racks...
Oh- and a quick shout out to the lovely ladies Enfys and Michelle for your words or encouragement :) Thank you ladies, you (and of course the paper racks!) made my day :)

Jenn

Sunday, April 20, 2008

Major CRAFT day!


Hello all,


What an amazing day I have had! I have spent the entire day card making, something that I dont usually get to do! I have a made a few cards..i'll have to post them later cos dan has the camera with him. I will post some of my other cards i have already got photos of. On a completely different note, i am SOOOO excited about the contest I have entered at Bcr8iv's (aka michelle) and even if i dont win, i've gained so much courage. I'll be entering contests left right and center now- you just watch me!


So anyway, I'll add a couple of cards that i have in my stash..


ciao for now.


xJenn

Old Friends Around Forever..


Hiya all!

..Dan & Hannah are away on a father/daughter weekend so Im home on my own..So I decided to have a friend over for coffee tonight. I have been friends with Krissy for around 20 years! We went to primrary school together and have been friends all through to highschool, and for years since. We dont often to get spend too much time together as we are both busy but when it do its like old times! Love ya Krissy -thanks for always being there for me! So it's midnight and I dont feel like going to bed yet (I get to sleep in, in the morning so I figure why not stay up!! hehehe)

I thought I'd hop onto the net and post some of my cards! hope you like..leave me a message if you stop by, would love to hear from ya! :)

night night...xJenn


Saturday, April 19, 2008

Long Time no blog!

Hello all,

So you'll be proud of me (i certainly am!). I entered in a competition over at http://bcr8iv.blogspot.com/ !! I made my 'truck load of love' card for my husband for valentines day..(you can see the pick on my first post) I made it for another competition but i never actually got the guts to submit it! So when i came across the competition over at Bcr8iv I took the plunge! I have been card making for like 10 years now and I have come to a point in my life where I want to take it further. So I am going to start entering in more and more competitions, and I'm even looking into becoming a TLC Consultant and starting up classes!! Im nervous as hell but I am also sooo excited. I will keep you all updated on my progress...fingers crossed for me!
*sigh* okay...im off to ACTUALLY make some cards instead of talking about it! hehehe..
Have a Great Day!!
Jenn